Fishing is a sport that is loved by many people. I happen to be an avid fish lover and fishing is something that I tend to do for relaxation. However, recently I have tried my hand at ice fishing. But it has taken me several attempts to learn how tying ice fishing jigs are supposed to go.
So since this was a little difficult for me to grasp at first, now that I know the proper way I decided that I should share my knowledge with others who may have had the same experience I’ve had.
Equipment Needed
Before you begin tying ice fishing jigs, you first have to make sure that you have the proper equipment. The first thing needed is to make sure that you have an ice fishing pole.
Make sure you have line clippers in addition to having the right pole, jigs, or lures. For those that don’t know fishing lines are tough lines although they are very thin.
Because of the various sizes of fish, the line has to be made tough, thin, and flexible.

How to Prepare The Line On The Pole
The first thing that I make sure to do is to thread my fishing line properly through my fishing pole. There are eye loops on all fishing poles which the line runs through.
Make sure your fishing line is lined up at the top of the pole and inline with your reel. This will ensure your fishing line is on your pole correctly. Otherwise, tying ice fishing jigs will be complicated.
Check out the following knot tying tool that will help you tie fishing knots with ease. Hook-Eze is available on Amazon!
Tying Ice Fishing Jigs
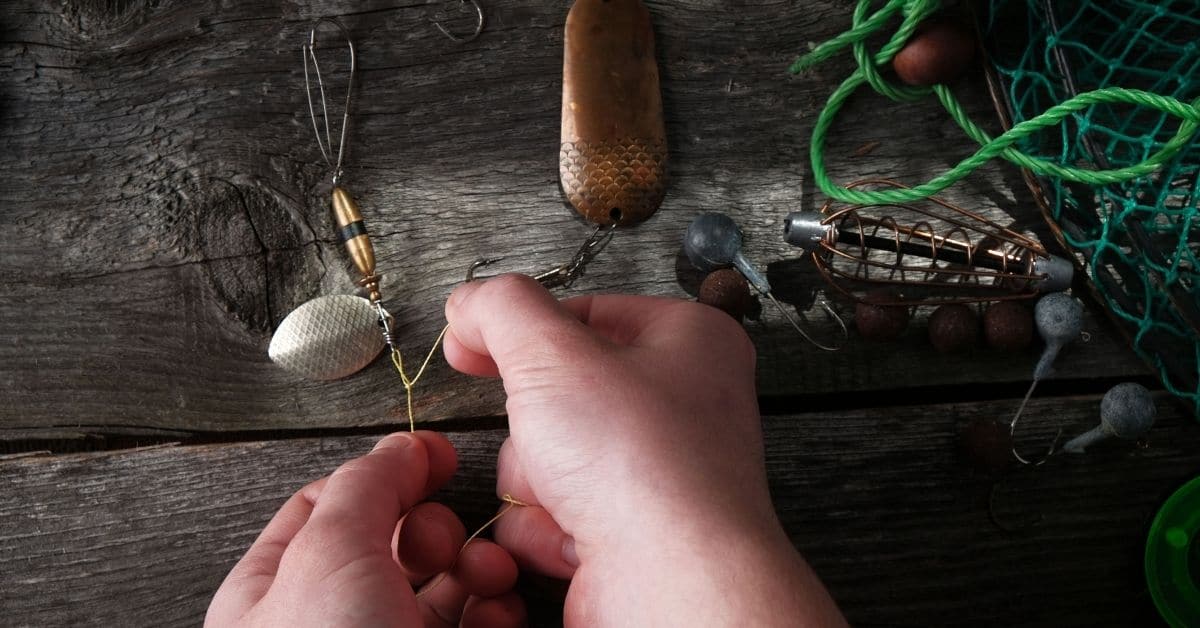
So when it comes to ice fishing as I have stated before there are all types of ice fishing poles that you could use. However, when tying the jig to the fishing pole line, you also need to make sure that the knot is tight so that it does not slip while you are fishing.
Now the loop on the jig should have the fishing line running through it. I always like to look at the line twice on the jig to ensure security.
The next thing that I would do after tying the line through the jig loop twice is to pull enough line to make sure that I have enough fishing line to work with. This way I have enough fishing line remaining to wrap around the hook several times while making sure that the wraps do not overlap. When wrapping the lines around the hook, I always have to make sure not to pull the lines too tight.
Don’t Pull The Line Too Tight
Pulling the line too tight can cause it to snap when you have a fish on the hook. I usually like to wrap the line around the hook at least six or seven times. This gives security that the knot will remain in place.
Once I have finished doing my wraparound, and before I tie my knot, I always bring it back up to the top of my pole and run it through the two loops on my jig that I initially made when tying my jig on the pole.
At this point, I am now ready to tie my knot. So I lubricate the end part of my remaining fishing line with a little saliva or water and then tie it in a knot.
Once I have secured my knot any remaining fishing line that remains is cut with my fishing clippers. When cutting the remaining line from the knot, I have to make sure not to cut the line too short, or else the knot can come apart. So I always recommend at least leaving one-eighth of the fishing line out of the knot.
3 Of The Most Common Jig Knots
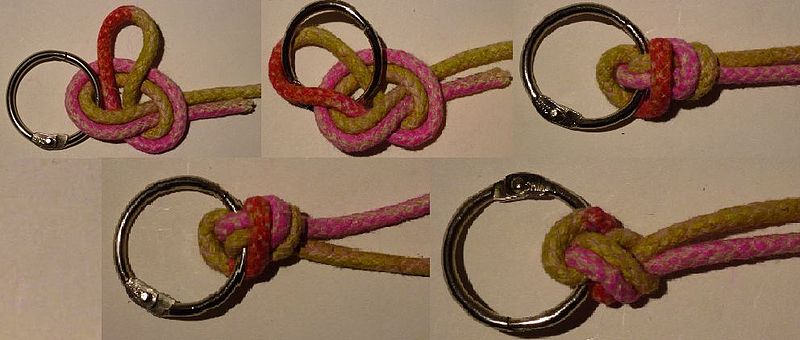
It just depends on which knot you may like best. But here are three common jig knots.
Here are a few examples of some of the other knots that work just as well.
Palomar Knot

The Palomar Knot is a fishing tie knot that can be a little more complicated to tie. It requires that you double your fishing line about six inches before you run it through the eye of your lure or jig.
After you have completed running the fishing line through the jig eye, then you must double the fishing line back to create a loop so that you have enough space to pull the entire jig through the loop. Now I can pull the loop down over the jig to tighten the knot.
Nanofil Knot
The nanofil knot closely resembles the Palomar Knot in the actual process of tying. The difference comes in after the eye of the jig has been threaded.
The remaining fishing line that is hanging from the jig should be brought back up to the main fishing line. Wrap the jig twice through the loops.
Eugene Bend Knot
Another well-known knot to use is the Eugene bend knot. The previously mentioned knots are the reversal of this knot. The tag end of the line needs to be threaded through the eye of the jig. This creates a huge loop.
Once the loop is formed, then it must be wrapped around the main standing line at least four times. Then re-ran back through the tag end of the loop. At this point, you would now able to moisten the line and tie it off.
Fishing Guide: 13 Best Lake Trout Ice Fishing Lures
Additional Accessories
Now that I have talked about how to tie a jig onto an ice fishing pole, I think a few more accessories are important to have when ice fishing.
Because this is ice fishing, I want to make sure that my readers are aware — one that you should have a sled that is light enough to travel across the ice. And two that it is large enough to hold your equipment.
When I am ice fishing, I always try to make sure that I carry a bucket. To put my fish in and additional needle-nose pliers to remove hooks from the fish. Also, live bait, other lures, ice fishing pole holder so that I can position my fishing pole after I have dropped my line.
And don’t forget a terminal tackle box with additional weights to use on my line. The weights will help me to be able to drop my jig lower into the water to attract the fish easier.
Don’t forget the rods! Check out these St.Croix Legend ice fishing rods. They are top-of-the-line rods that I highly recommend.
So when it comes to ice fishing and tying your lures or jigs, it is not that difficult to do. It just takes a little bit of practice to make sure that the line and jigs are tight and secure. Ice fishing is fun and can be exciting. You must make sure to have all the necessary equipment needed and on hand.
If you have any questions or comments, please leave them below.


I don’t know how many times I’ve shown my brother how to tie a fishing jig knot yet he still struggles to tie a good one. Even if I do it multiple times, slow and steady he still can’t do it. Your technique and the way you show how it’s done is a big game changer even for me. I’ll definitely be showing my brother this so he can finally learn how to do it an EASY way! Thanks a lot! I have one question though, which knot out of the 3 here are the most hardest? So I can avoid showing him that one. LOL
Palomar Knot is the most difficult one to tie in my opinion.
I was so stoked to come upon your post and learn all these awesome techniques for knot tying. I used to tag along for fishing tours sometimes but my brothers were usually the ones that did all the knot tying and I always kind of envied the ability to know about and execute different fishing and even boat rope knots. Now that I have a little boy and we go out to the pond sometimes to “pretend fish” The other day I was telling him about the knots that my brothers used to know how to tie and now I totally have an awesome reference for the two of us to dial in. The videos are totally and added bonus. Thank you for such a helpful post! Best of success to you in the upcoming New Year!
Glad you enjoyed the article. Hope you have a great New Year as well!
Thank you for this. I now know I have been using the Eugene bend knot all this time and did not know the name. I appreciate the information on the knots though. Many people who fish don’t take the time to learn a proper knot. I don’t do much ice fishing so I do not know if this bit of information applies but I know from experience you should check the last couple feet of your line, any nicks or scrapes on your line from rocks or other debris could mean the difference from landing the big one or just a big fish story.
Although I like fishing I never tried ice fishing before. But my time is so limited that for the time being I don’t see myself trying it. But I have though about it in the past and it’s something that I would definitely give it a go to see how it is. I will keep your article bookmarked for the time I will decide to try it out. Your info will be very valuable. Thank you for the share.